Antique Pipe Rack Restoration Project

Brothers of Briar

Help Support Brothers of Briar:

This site may earn a commission from merchant affiliate links, including eBay, Amazon, and others.

hobie1dog

Well-known member
Joined
Jun 21, 2010
Messages
1,844
Reaction score
4
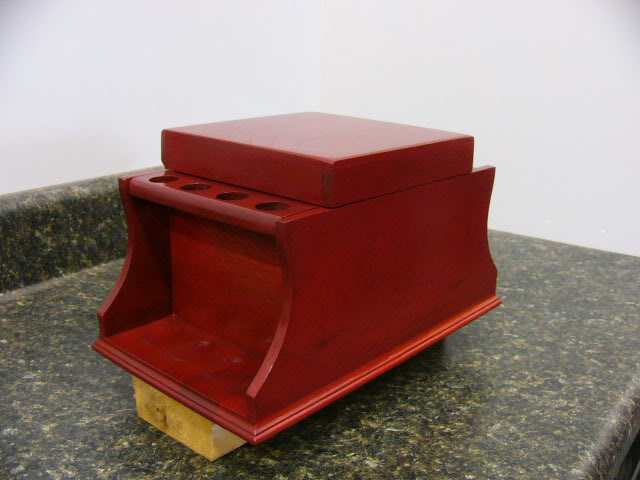
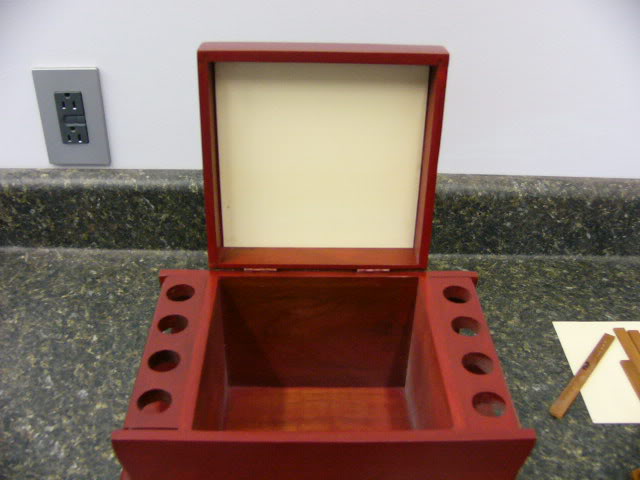
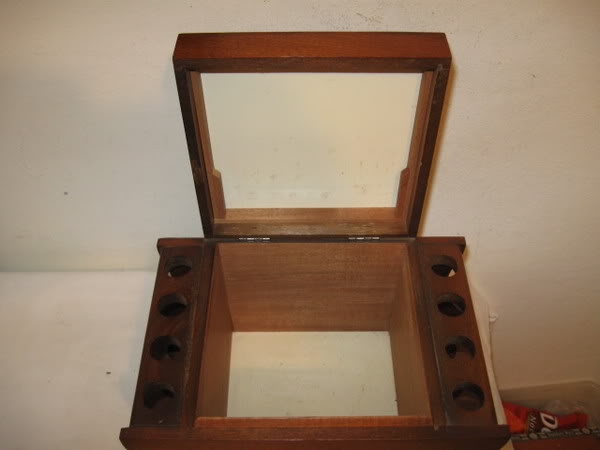
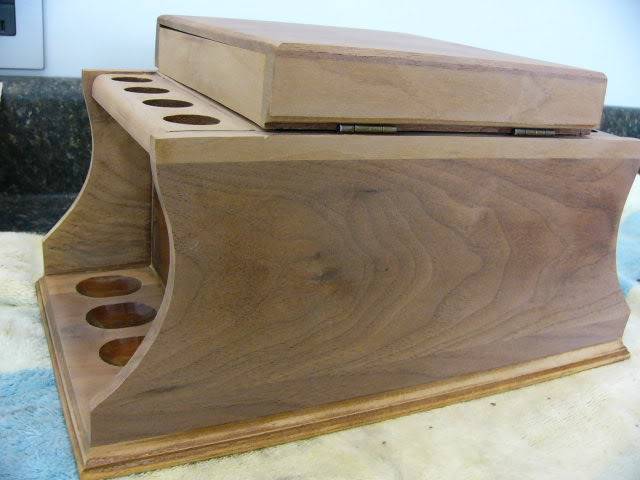
I bought this pipe rack/humidor off of Ebay last week. There was another one that had some documentation that it was built around 1890 or so and it was a 6 pipe rack. This one looks like the same manufacturer but who knows what vintage it is.

Humidor1.jpg

Humidor2.jpg


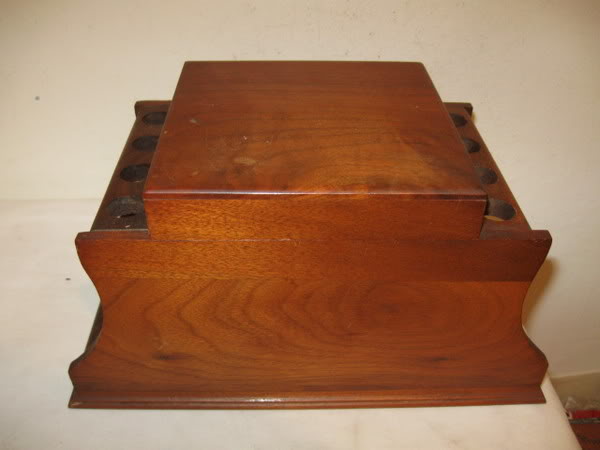
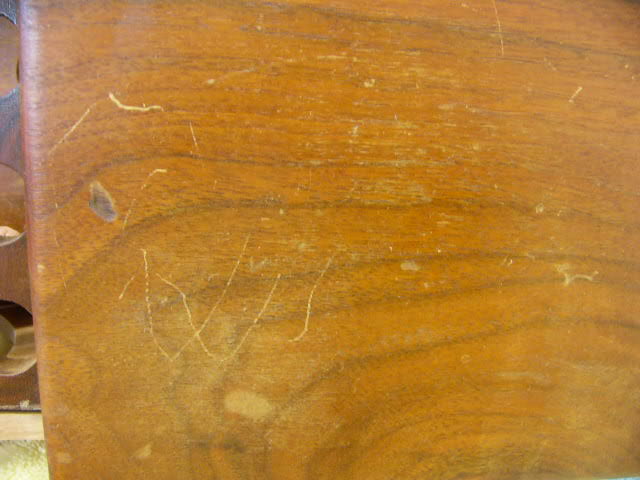
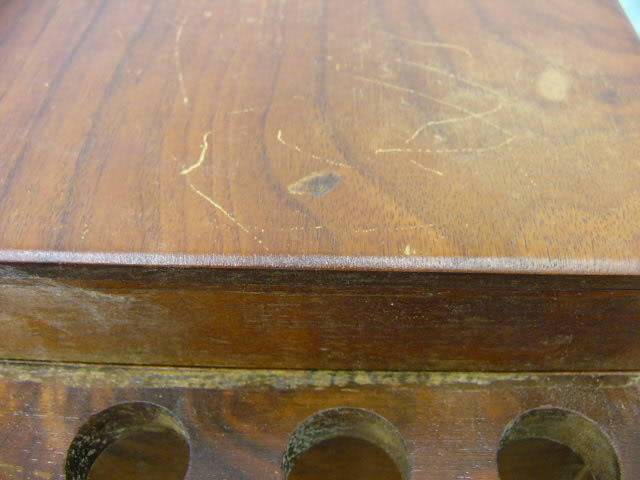
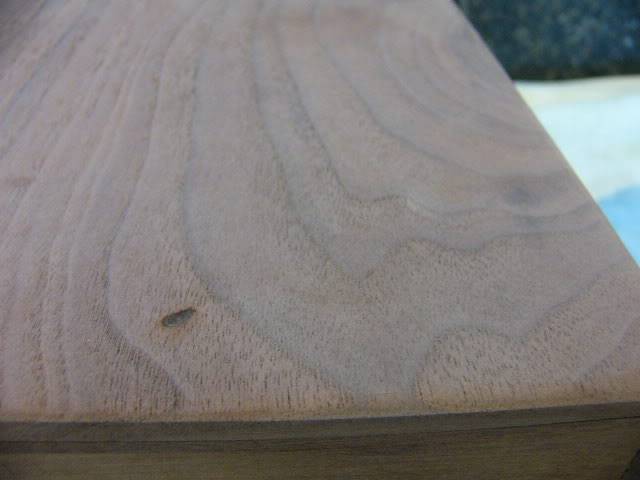
Has a divot and scratches on the top which will sand out.
P1030424.jpg


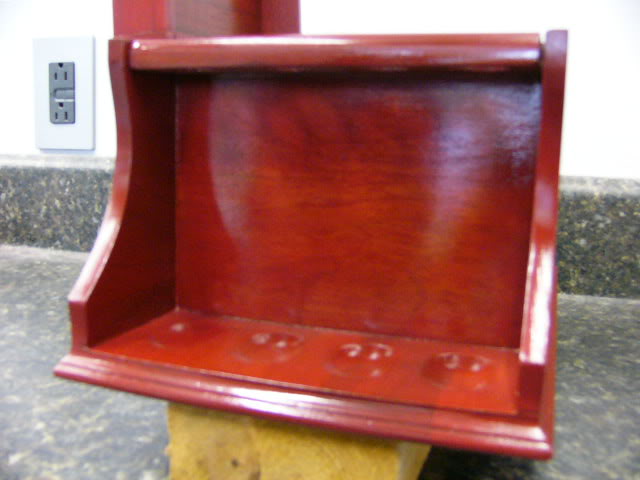
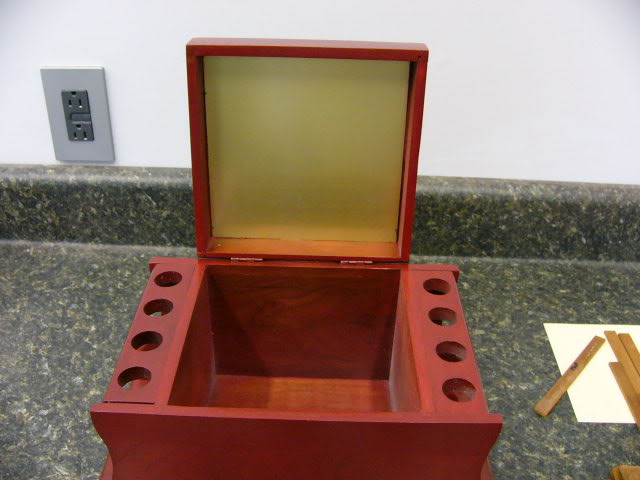
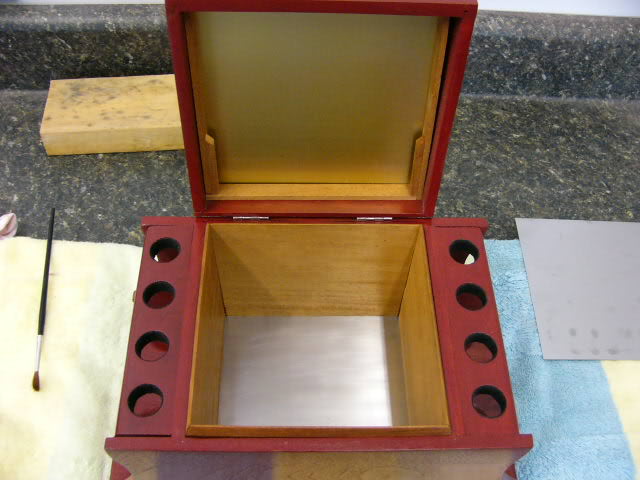
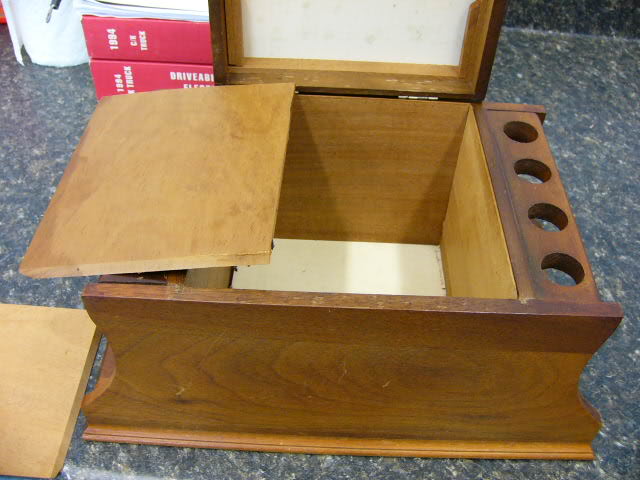
Interior panels are all beveled and lift right out.
P1030412.jpg


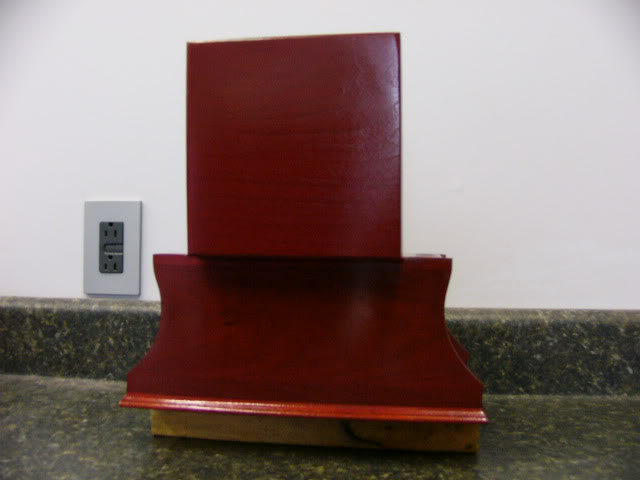
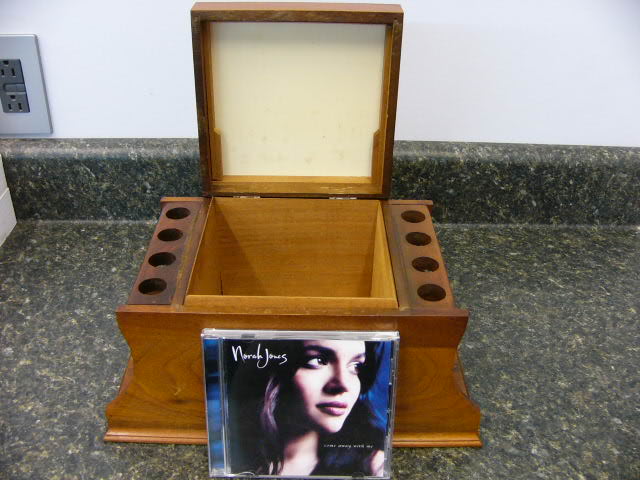
This is for size reference.
P1030413.jpg


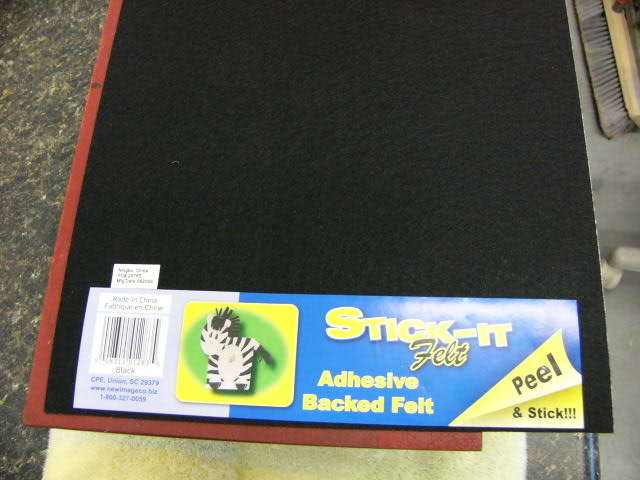
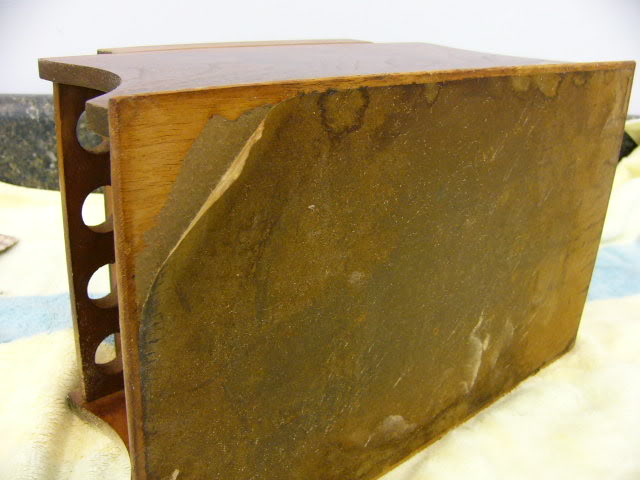
Bottom had a paper layer on it.
P1030414.jpg


Joints are a little rough...gives it character
P1030418.jpg


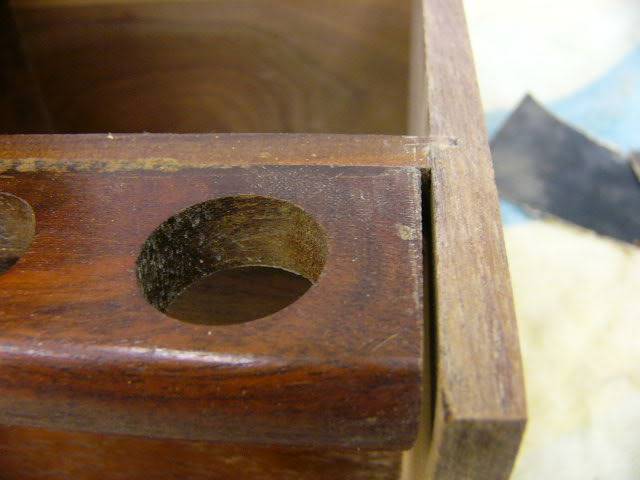
They didn't bother wiping excess glue off either
P1030421.jpg


So I started sanding on it.
P1030415.jpg

P1030416.jpg

P1030417.jpg


Divot was reduced to a small spot and the scratches came out easily
P1030429.jpg


More sanding...about 4 hours worth
P1030430.jpg


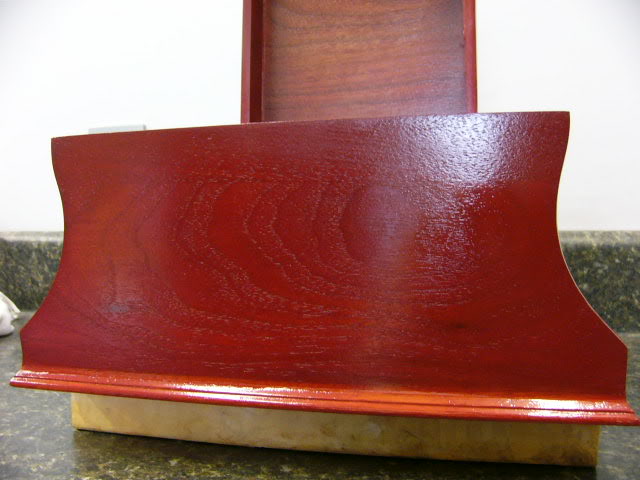
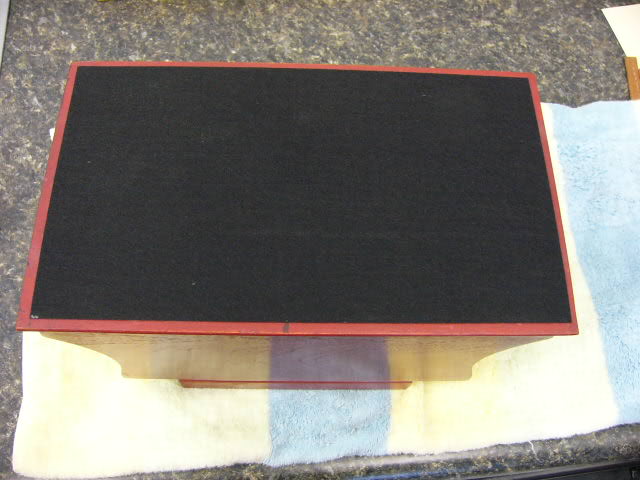
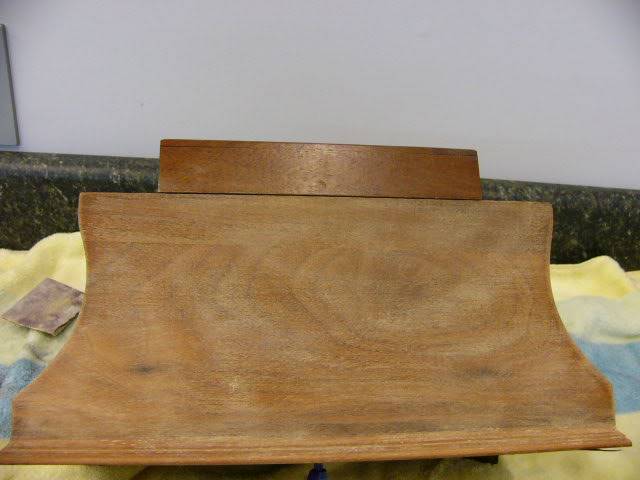
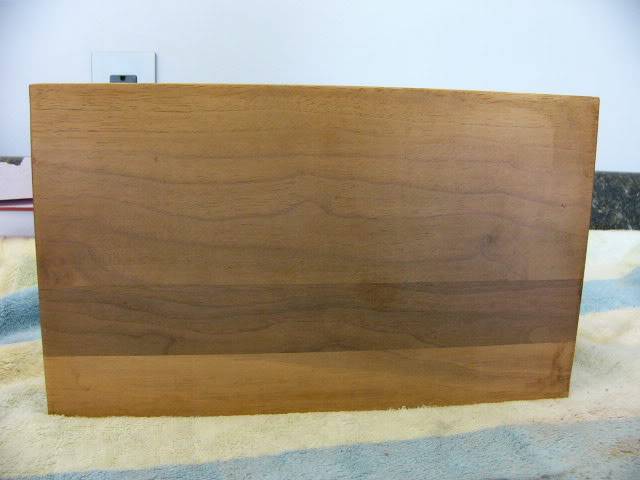
Bottom turned out nicely
P1030431.jpg


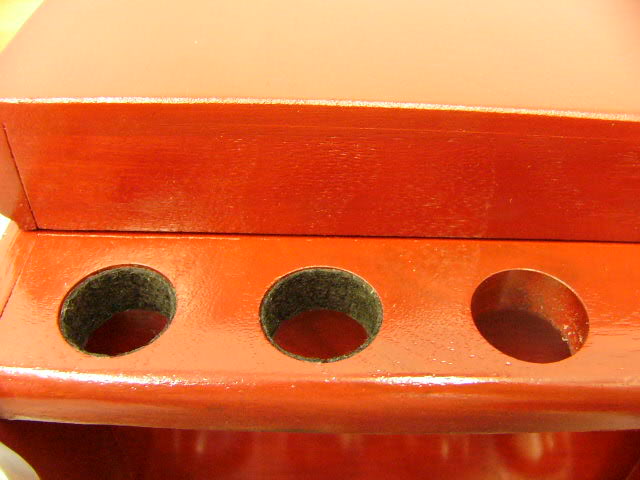
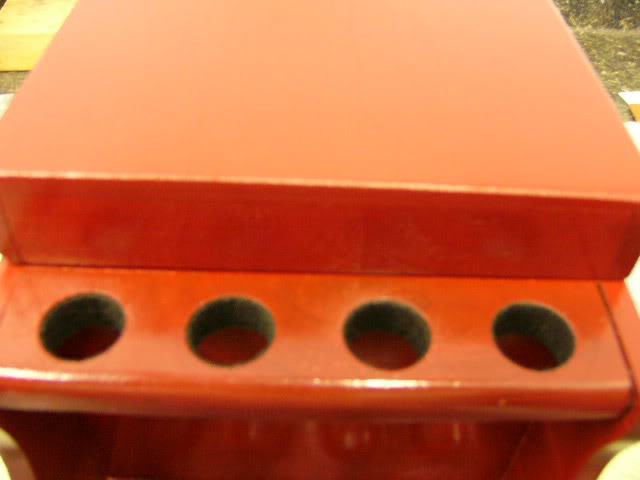
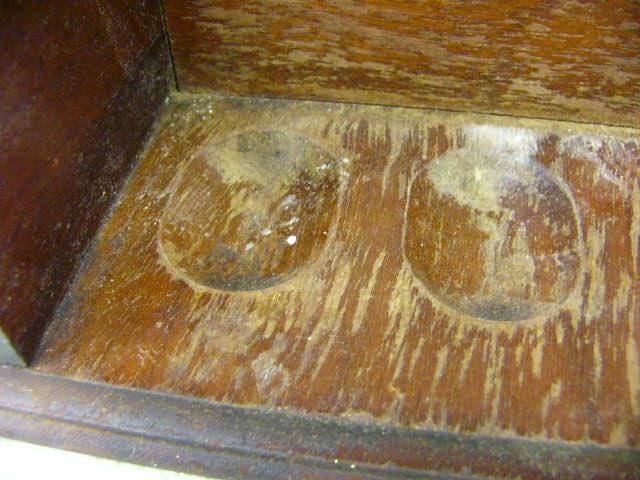
These were a bear to sand out.
P1030435.jpg
 
I'm not a fan of walnut and so that it matches everything else, I'll first use some stain by Masters called Crimson Fire.
P1030432.jpg


Then I'll spray a light coat of Lacquer to seal the stain color and then use some Briwax mahogany Grain Filler
P1030433.jpg


I did the same process on this Empire 598 turntable that I'm still restoring, which was also walnut
P1020663.jpg

P1020662.jpg

P1020660.jpg

P1020659.jpg
 
Got all the sanding done and started applying the stain. This pic is to show how red the stain is out of the can
P1030438.jpg


This is the final stain job.
P1030439.jpg


Yep, even did the bottom which will be covered with a new sheet of thin felt. So I elevated it to dry overnight.
P1030440.jpg
 
Thanks, I was getting worried, I posted them up last night and there were no responses this morning...I guess I did post up rather late last night. I was beginning to think no one liked it. :pale:
 
I REALLY like that stain & finish...very nice work.
 
I'd love to see the finished product when you have it!!
Great job

-- Brent
 
I sprayed the light coat of Clear Lacquer on it tonite to seal in the stain color, so tomorrow I should be able to apply the Grain Filler, which is a dark Mahogany color and hopefully match the color of the Empire Turntable pictured above.
 
Very nice so far, looking forward to seeing the finished piece. I'd also like to see the Empire, now thats a turntable you don't see to often.
 
Well, no pics today, but I tried the grain filler on one section and it was so hot that the filler dried too fast and was impossible to wipe off quick enough, so I had to abort that idea and sand all of it off and re-stain that area. So now I'm just going to apply 4 coats of Lacquer this weekend. I'll post up pics naturally. :D
 
I ended up putting 3 full coats of Lacquer on the pipe rack today, and being almost 100 degrees, each coat dried in 15 minutes. I even stirred up some of the flattening agent on the last coat, but it is still a high gloss finish.

P1030445.jpg

P1030444.jpg

P1030443.jpg

P1030442.jpg


I put the off white insert in the top to see what it would look like....not really digging it.
P1030446.jpg


Flipped it over to the brass looking side
P1030447.jpg


I'll make two plates out of stainless steel sheet tomorrow at work to see how they will look. I also have to re-install the inner liner panels in the humidor section, and put the thin sheet of felt on the bottom and likely will cut small strips and glue them in the top pipe circular cut-outs to cover up the roughness and protect the pipe stems from scratching. Overall......It matches my speakers pretty well and is good enough for the garage. :|
 
,,,great work saving a piece of pipe furniture that could just as well have ended up in a landfill,,and it's a classic form,,,I hope you enjoy it, and thanks for keeping us updated,,,,
 
I finished it up today. Got some thin sheet felt at the craft store with adhesive backing.
$1.00 per sheet. One sheet did the bottom and had enough left over for the pipe holes.
P1030448.jpg

P1030449.jpg


P1030450.jpg

P1030451.jpg


I used a new piece of stainless steel in the bottom but decided to re-use the brass looking original piece in the top.
P1030452.jpg
 
Hobie, you really spiffed that pipe rack up good! :cheers: :cheers: :cheers:
 
Thanks guys...it was rather fun to do...now on to buying some pipes to put into it. :D
 
Top