wintermute
Well-known member
- Joined
- Apr 21, 2009
- Messages
- 99
- Reaction score
- 0
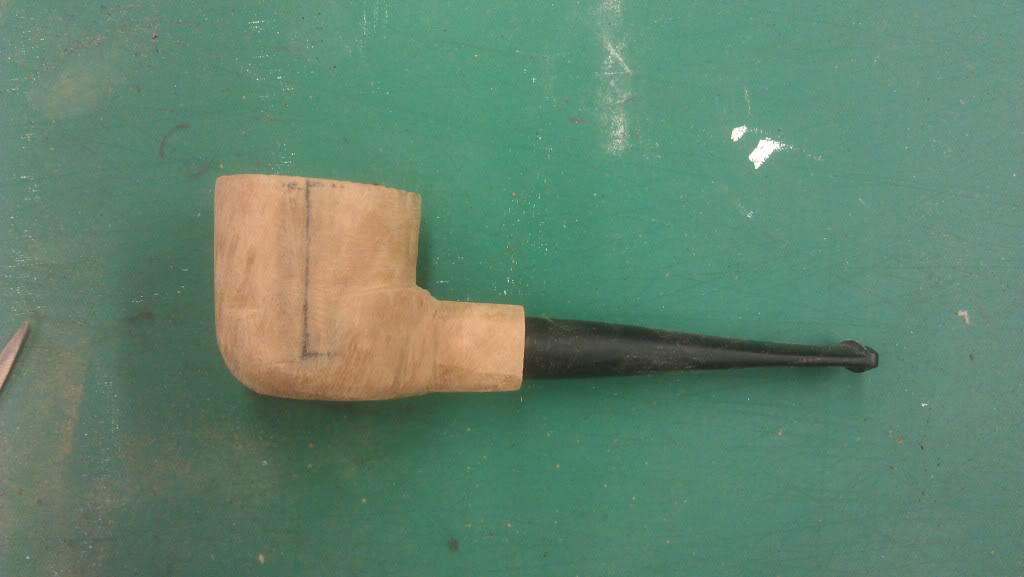
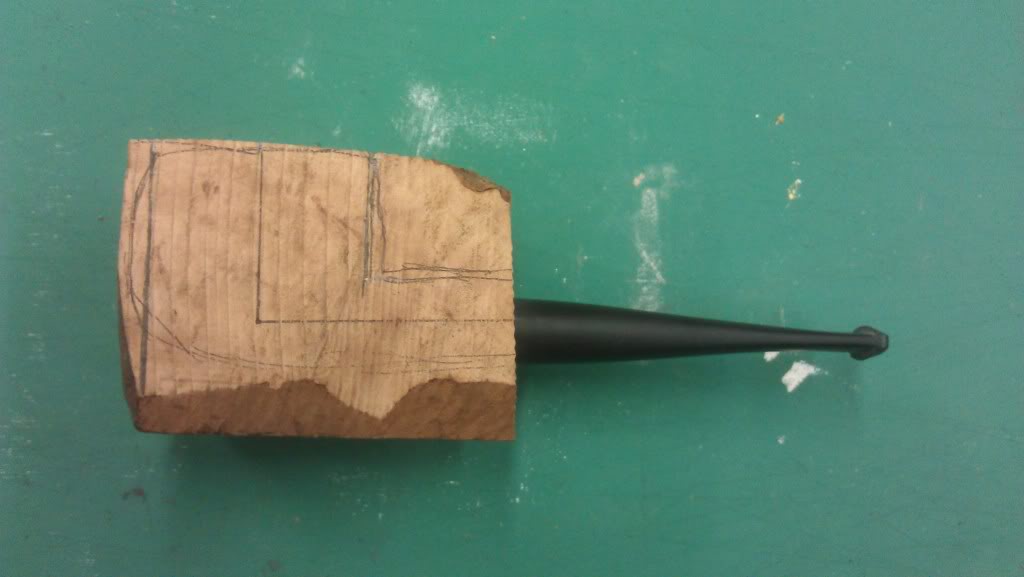
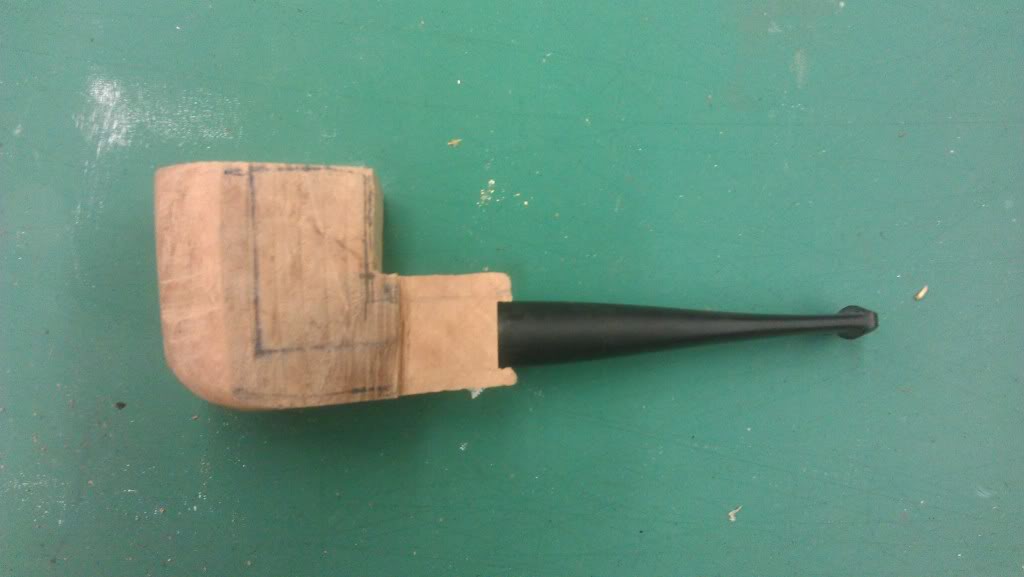
I received a Tinsky pipe kit a couple of weeks back and have been working at it slowly and methodically. I told Mark that I was thinking of turning it into a Prince The kit was delivered with perfectly drilled bowl and draft hole, a shaped but not finished stem, centerlines of both holes drawn on one surface and a rough sketch of a prince shape as well (bowl diameter was too wide for the block cross section - just saying this to defend my cut placement). I was planning on turning this into a "Black Prince" but this seems to have some pretty good grain so far - bird's eye on top, flame on the front. I'm using nothing but hand tools on this one - slow and steady. I read Blackhorse's post on a Tinsky kit and took his suggestion on buying a Japanese pull saw. I'm glad I did.
Anyway, a friend suggested that I do this as a WIP thread, which I fear is the kiss of death, but anyway, here's how it was as-delivered (with some lines drawn by me added):
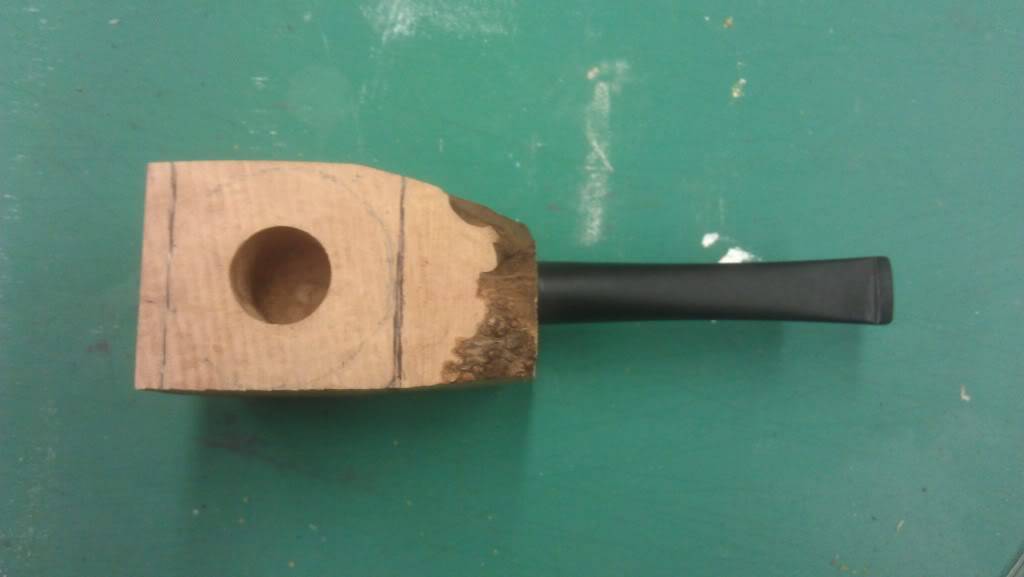
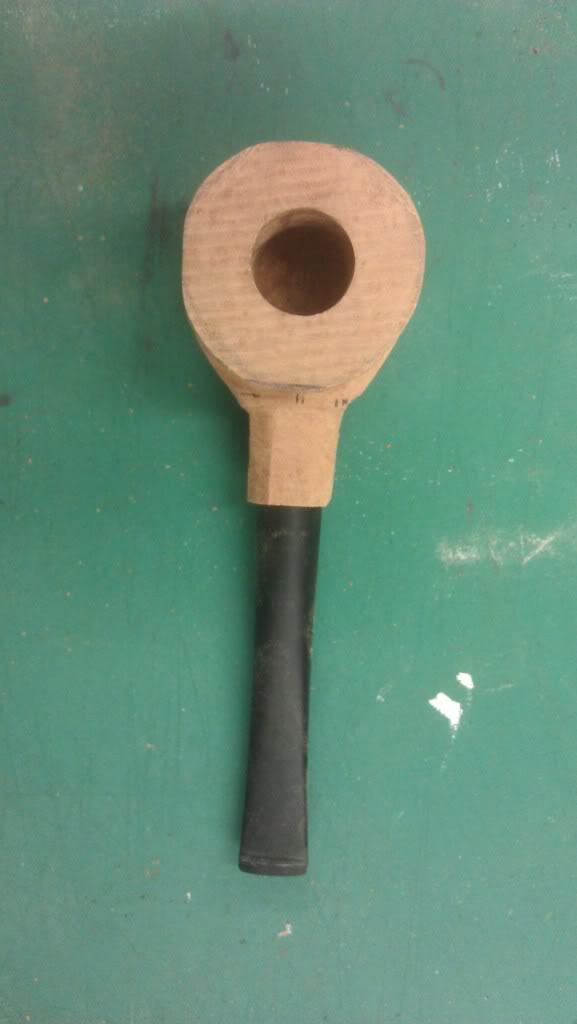
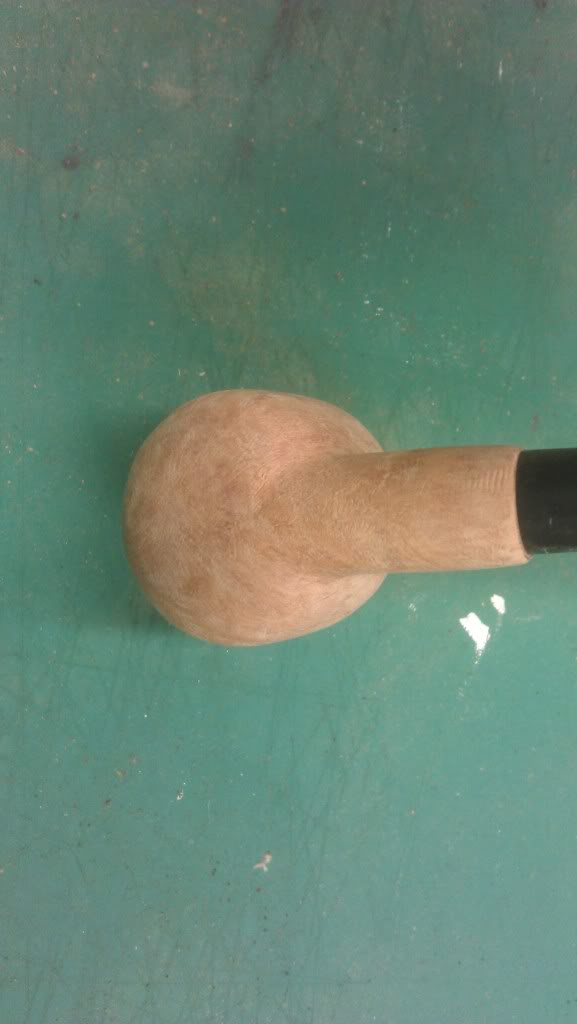
And here it is today:

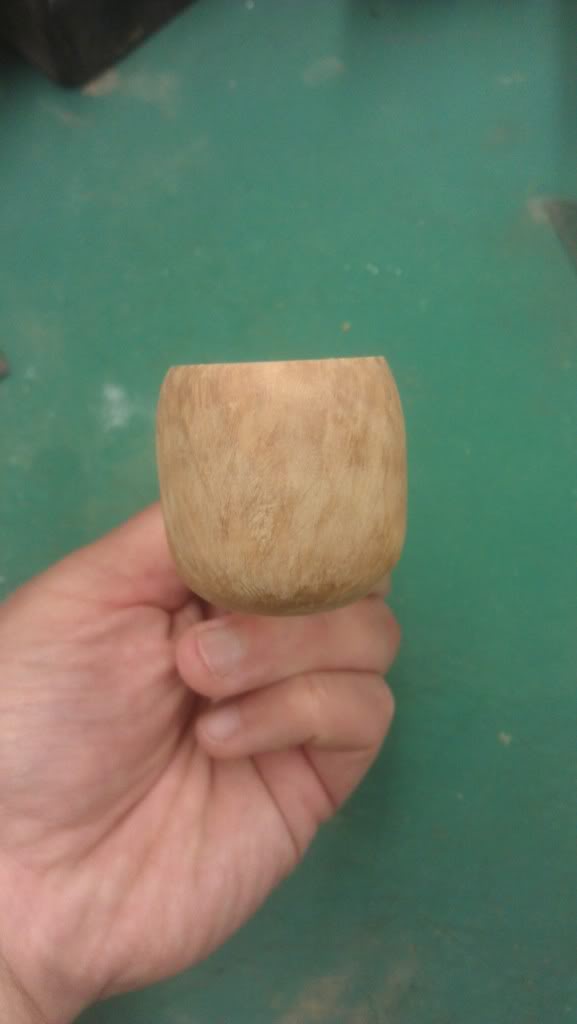
Comments and critiques are much appreciated. I'm trying to figure out how much I want to cut down the chamber. Right now it's at 1.3" with a 0.71" diameter.
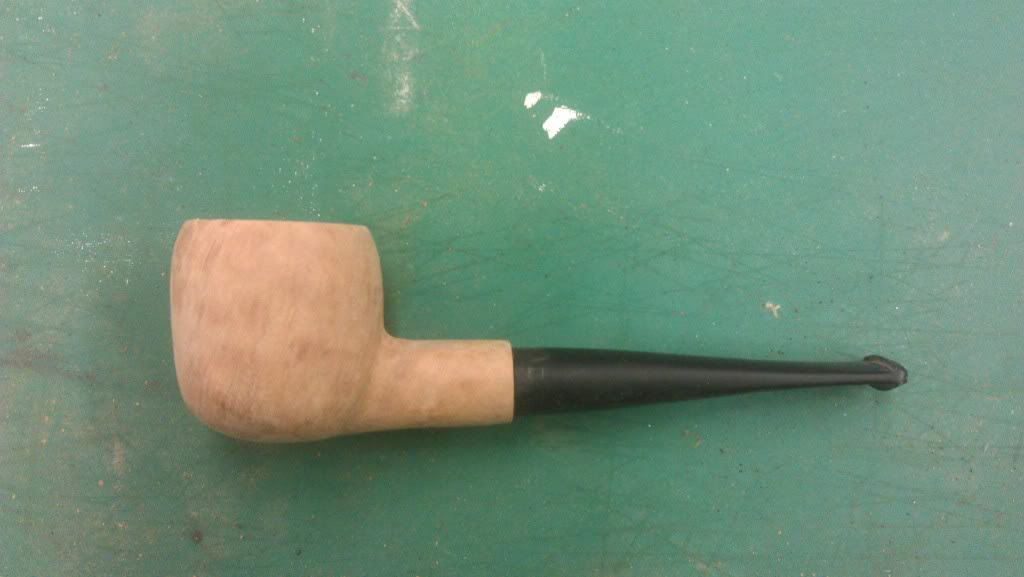
Anyway, a friend suggested that I do this as a WIP thread, which I fear is the kiss of death, but anyway, here's how it was as-delivered (with some lines drawn by me added):
And here it is today:
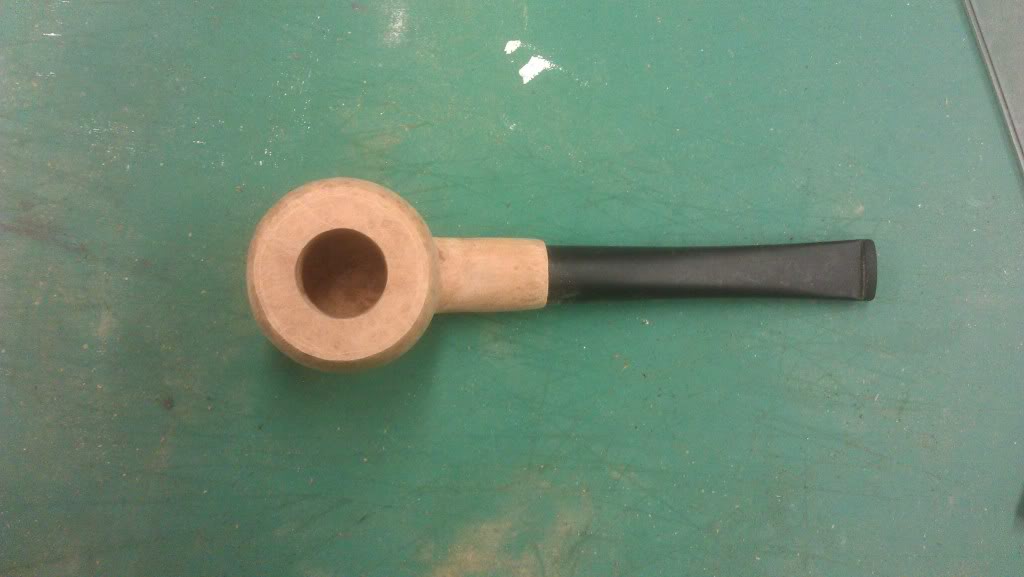
Comments and critiques are much appreciated. I'm trying to figure out how much I want to cut down the chamber. Right now it's at 1.3" with a 0.71" diameter.
")