Smooth Canadian

Brothers of Briar

Help Support Brothers of Briar:

This site may earn a commission from merchant affiliate links, including eBay, Amazon, and others.
This has been a VERY NICELY done visual explanation of your pipe making process and I'd like to just say THANK YOU !! Looking forward to seeing how it all comes out !! Keep up the obvious good work !! :twisted: :twisted:
 
Josh, thanks for sharing the pics of your pipe making process. That Bodock will over time turn a honey brown color, adding a lot of character to the pipe. I am anxious to see how this one turns out! :cheers: :cheers: :cheers:
 
More updates today! I had last left off with a bit of a chunky pipe and no stem to speak of. Let's get to it!

A bit of rounding with a rasp on the corners of the pipe:


Sneaking a peek at the promising grain:


Don't worry about the big dent--it's going to get sanded away soon. Then I'll go to the disc, starting at either 40 or 60 grit. The number isn't too important, but the rougher it is, the deeper the gouges and the fast the removal of material  :twisted: I didn't show this part "live" cause it's hard to hold a pipe in 2 hands and take a picture.


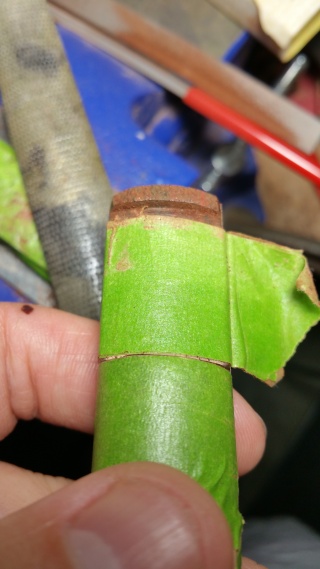
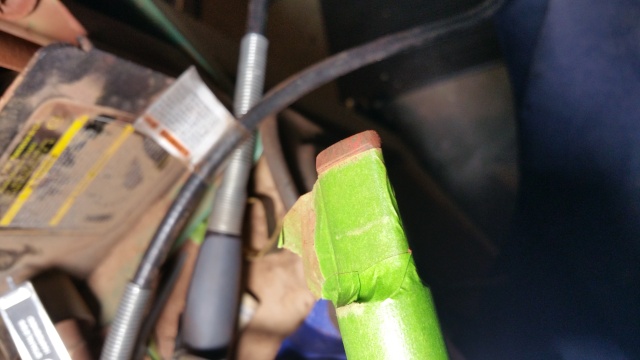
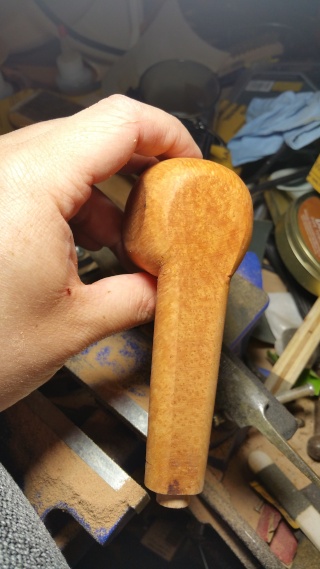
Ok, setting the stummel aside for a bit, I'll get the stem started. It's going to be cumberland, with a delrin tenon. Chucking up a piece of 22mm rod stock, I part it to length (I know, a little backwards). Mostly I don't want the stem too long.


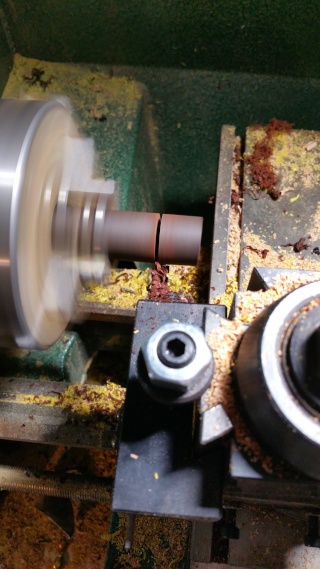
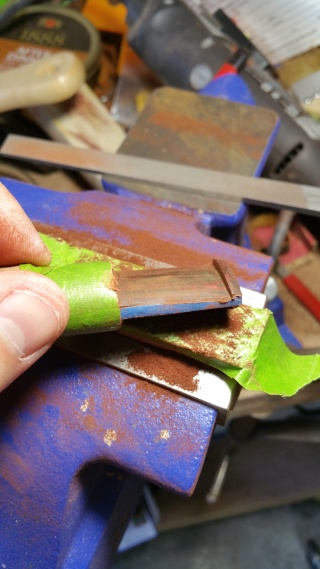
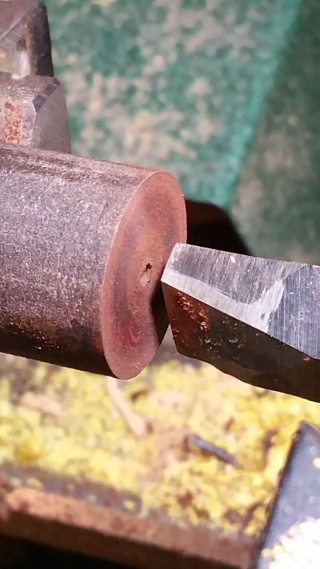
Next thing is to face that cut side to prep for the tenon. I first use a regular turning tool (not shown) to make it square, then this custom ground shear bit. It makes only right-to-left cuts as it's angled, but it can make a lot smoother surface when at a lower speed without machining marks. I set it to be perpendicular to the end and move it from back to front towards me. Unfortunately, it's not perfect as it has too much of a facet on the front, but it did the prep job enough.


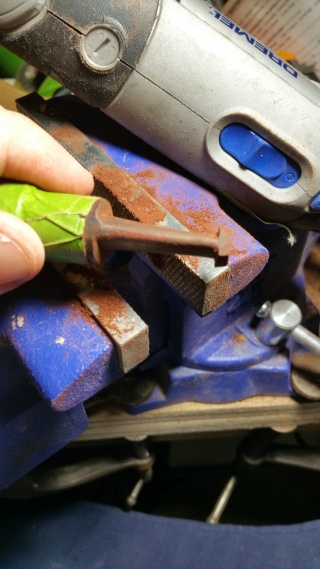
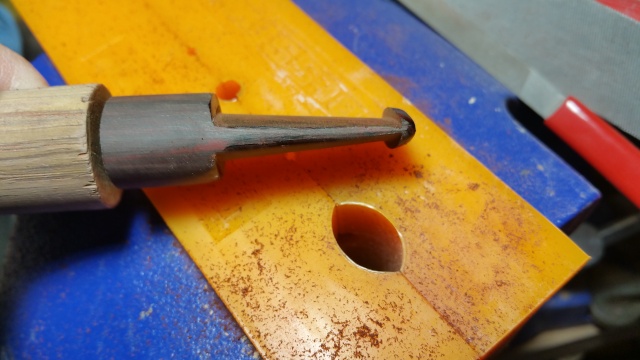
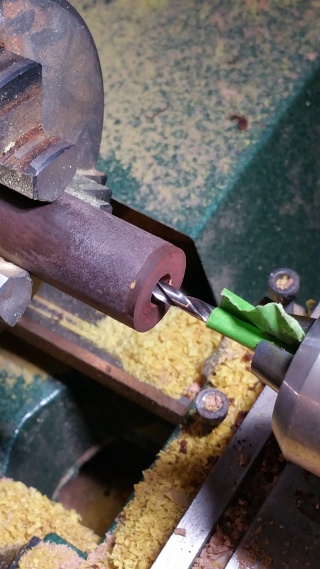
I drill the 5/16" mortise for the stem side of the tenon first then follow that with the airway @ 5/32" tapered, stopping about 1/2" from the button end of the stem.


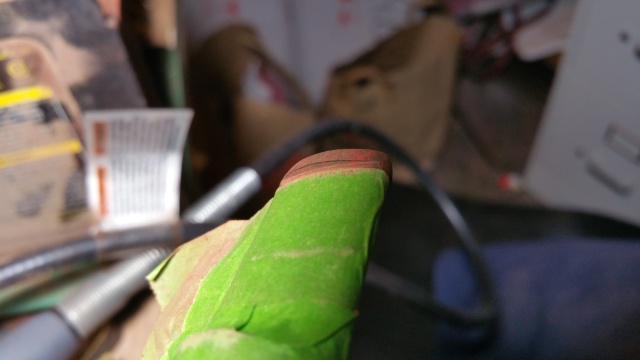
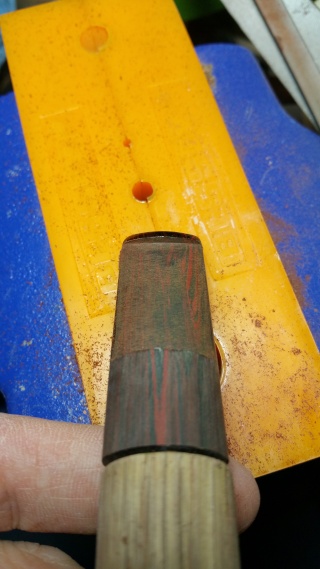
Incidentally, you know it's good vulcanite/ebonite/cumberland if it smells like rotten eggs! After that, I polish the face with some white diamond and a rag @ 1000RPM on the lathe. Ooooo shiny!  8)


Flip the stem over and drill all the rest of the way through from the button side with a <1/8" bit. I didn't photo this part, but you'll see it later when i show cutting the button.

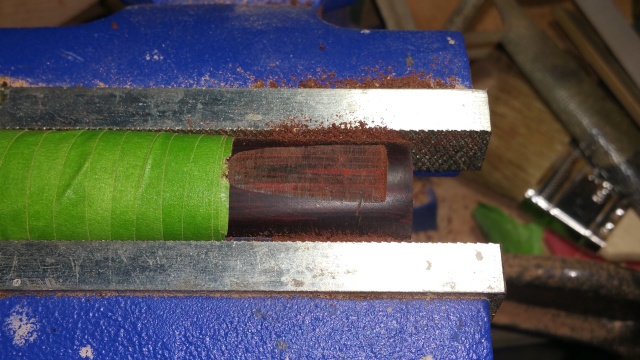
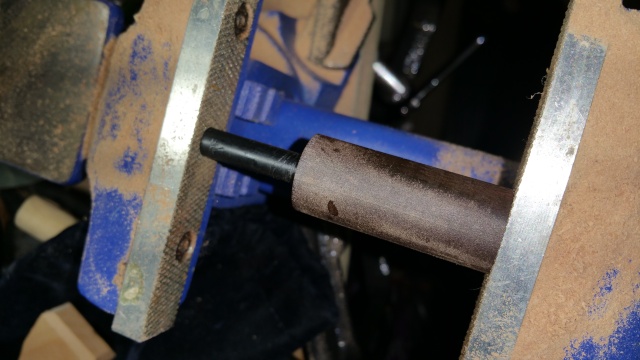
Next we cut a short piece of delrin and drill it through at the same diameter as the airway (5/32"). I countersink the end that will go into the stem mortise. I prep a bead of 5 minute epoxy on a piece of paper. Don't forget to scuff the ends of the delrin or it won't stick. But also, don't over-scuff cause the rest will be the part you can see when you pull out the stem. (I ended up redoing it last night because I didn't like how it was looking.)


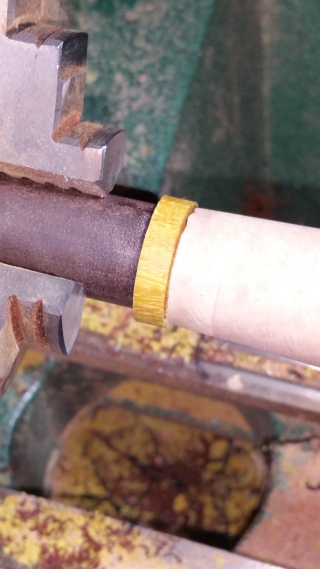
Press it in a vise of some sort to let it get snug. Now you wait for the "magic minute" where it is still pliable, but not sticky. Peel off the squeeze out and clean it up.


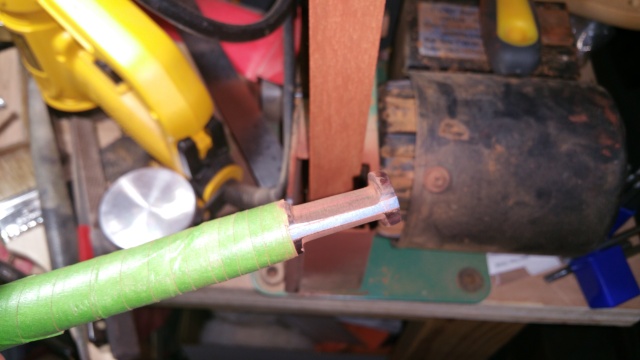
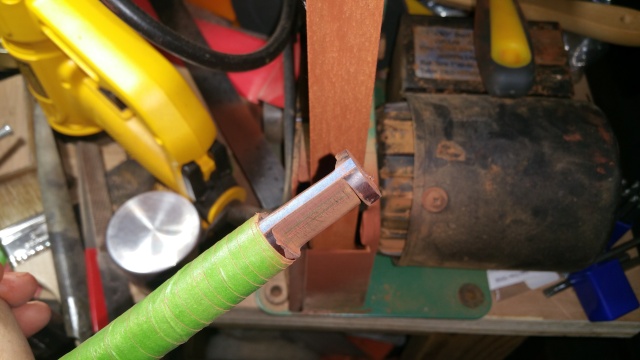
Finally, chuck the stem back up and cut the tenon to length, then countersink. It's time to check fit:


No gaps! Looks good to me! If you've done a good job cleaning the epoxy off the tenon, there should be no need to countersink the shank face, but sometimes you do. I didn't show it, but that's a little detail you'll notice on some integral tenons (e.g. Dunhill) that still have the fillet in the stem/tenon corner.

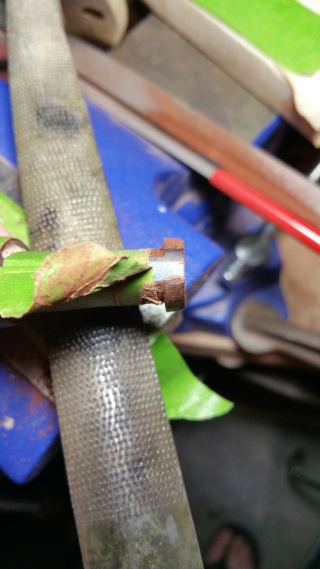
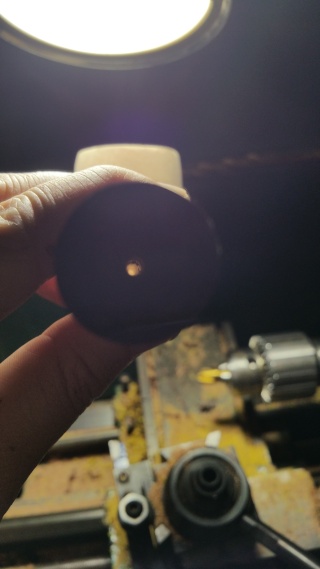
Time to unchuck it. Here's the airway view all the way through.


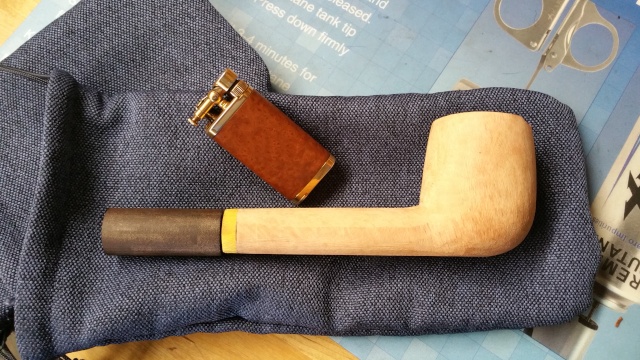
Think it'll pass a cleaner? You bet! Here's the parting shot with the handsewn bag destined for this pipe:


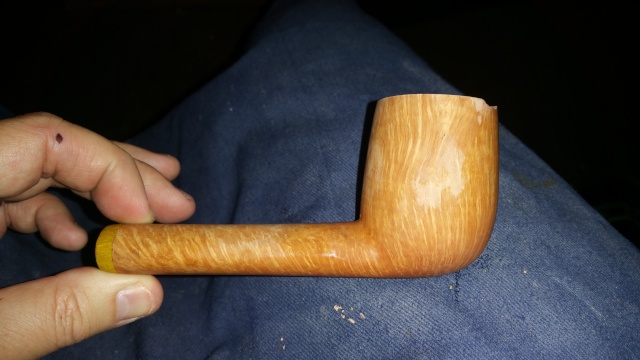
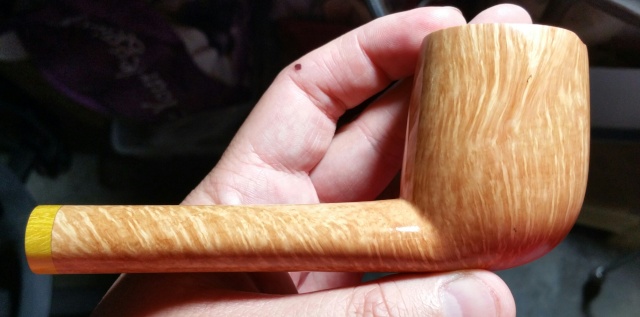
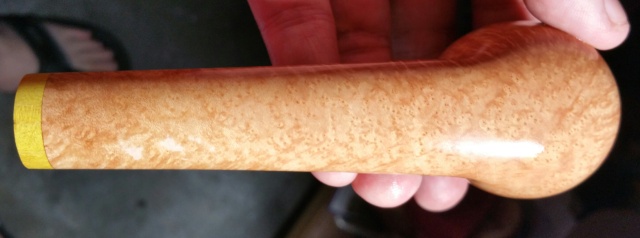
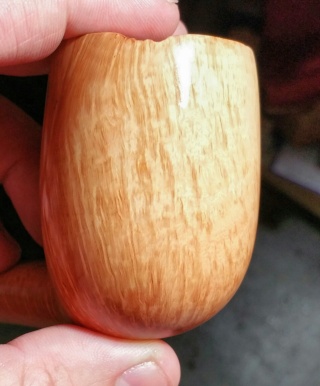
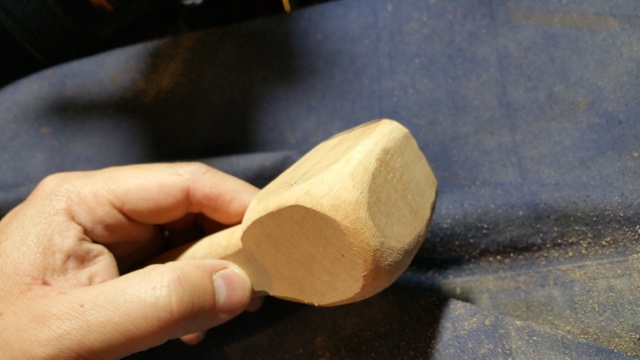
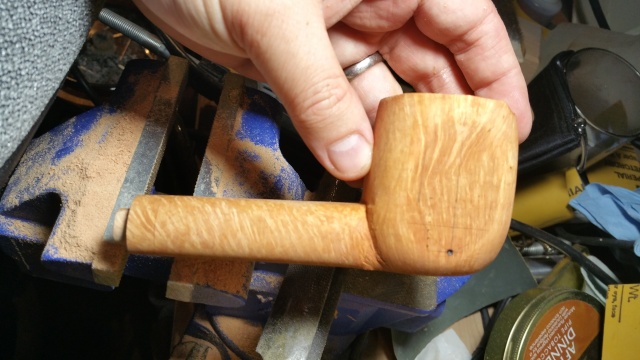
Now we can get back to sanding! Details next time!
 
Following this post has been a great treat for me. I can hardly wait to see the final product. :bounce: :bounce: :cheers:

AJ
 
ajn27511":i80cc908 said:
Following this post has been a great treat for me. I can hardly wait to see the final product. :bounce: :bounce: :cheers:

AJ
+1 :cheers:
 
I always enjoy seeing these step-by-step pictures of work in progress. Thanks for taking the trouble to post them.
 
Wet Dottle":ppd1bd75 said:
I always enjoy seeing these step-by-step pictures of work in progress. Thanks for taking the trouble to post them.
I do too! Glad everyone is enjoying it all so much!

One thing that I learned once I tried making some pipes is that patience is a virtue, which really doesn't get expressed through photos. There's a lot of repetitive steps, particularly sanding. The lathe makes life a lot better, but hand sanding is still very very crucial.
 
Switching back the stummel, I want to further refine the shape. "Keep sanding" is the mantra of our resident pipemaker in our local B&M. ;)

After some "refinement" on the sanding at 60, we have this:


I won't show all the in between grits cause it's all much subtler smoothing. Main goal is first the shaping then the removal of deep scratches. Ok, maybe one more...


Still needs work, hmm. "Keep sanding"!" When I'm happy with the shape, I normally work to 400 grit and do the contrast staying, but as I said, this going to be a natural finish. Instead, I wet sanded progressively from 400 to 1000. Here it is wetted.


What a piece of wood! I know you said it was a Mimmo order and if it's the same Mimmo everyone's talking about then you got that wood from a great source. But I'm curious, was this like an extra fancy piece or something like that? It's really great piece of wood and nice to see you doing wonderful work with it. Congratulations.
 
Is that your first? It's looking REALLY good if it is. I may have missed it since I've sort of skimmed looking at the pics mostly, but are you planning to stain it?
 
juanmedusa":20vmjry6 said:
What a piece of wood!  I know you said it was a Mimmo order and if it's the same Mimmo everyone's talking about then you got that wood from a great source. But I'm curious, was this like an extra fancy piece or something like that? It's really great piece of wood and nice to see you doing wonderful work with it. Congratulations.
No, this was my first Mimmo order of the bundles offered from his website. He does allow purchase of specified types for blasting/smooth and grade, but that's for next time.

Thomas Tkach":20vmjry6 said:
Is that your first? It's looking REALLY good if it is. I may have missed it since I've sort of skimmed looking at the pics mostly, but are you planning to stain it?
Thanks! No, not the first. I don't want to give the impression that you can just get it right with the first block. I've done a few before this, but never with as much confidence. This just happens to be an awesome piece and I wanted to share the process with you all.

I don't plan on staining it. It'll be a natural finish. I'm banking on the coloration from the buffing. If you've seen a Dunny Root Briar, that is basically what they do once they're done sanding. Of course as you smoke, it can darken considerably.
 
Is it done yet, is it done ? Huh, huh? Don't tease, we need to see what is obviously going to be a STUNNING piece of work :twisted: :twisted: Pics! Pics !! :twisted: :twisted:
 
I know you guys have probably wondered what happened. I was out this past weekend, then I hit a little snag in the shank. Rest assured, I'll get back on track tonight (I hope) and provide some further updates.
 
This time, the stem work. It starts round, but I want a saddle. I chuck it up in the vise and line up about what the taper angle might be (lots of room for correction, so this isn't the final angle). First I start approximately behind where the button will end and work back towards the tenon. Gotta remove a lot of material so files and rasps are the way to go. That's a Japanese rasp, BTW, which cuts on the push stroke.


Having started that, I hit it on the belt sander for a bit to bring it down to size. Remember that blue tape line? That's marking my slot. I shave down a bit of the middle portion of the saddle and take down the shank side.


Man that's ugly. I know it seems like I hardly did anything, but this is at least getting me going in the pseudo-oval shape. Next I really want to better define the limits of the button height and depth, so I start roughing that out.


Further filing refinements using a file with a dead edge pillar file. You like my little handle? Now you can see the button is beginning to take better definition.


Better. Now, let's further taper the saddle portion with more of the same technique--overhand rocking motion with the file and one-way motion.


Hmmm. But the button is still way too thick. Hacking away at it some more...


Ok, now to really clean up the shape.


Josh, you seem to have this well in hand (no pun intended).

Your moves are indicative of a pipemake well beyond your experience. Looks like you'll do very well in this craft.

Keep on keeping on mate!

:cheers:


Cheers,

RR
 
Top